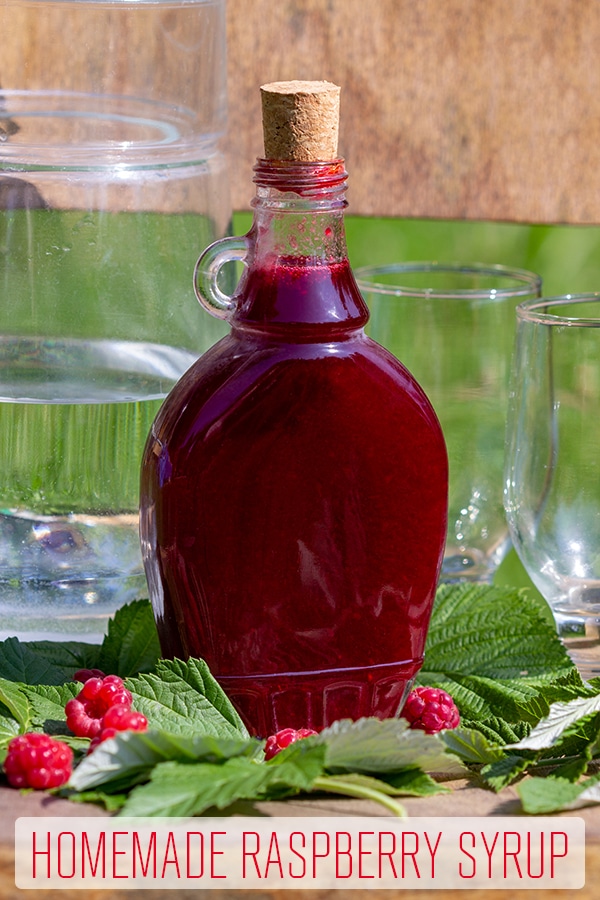
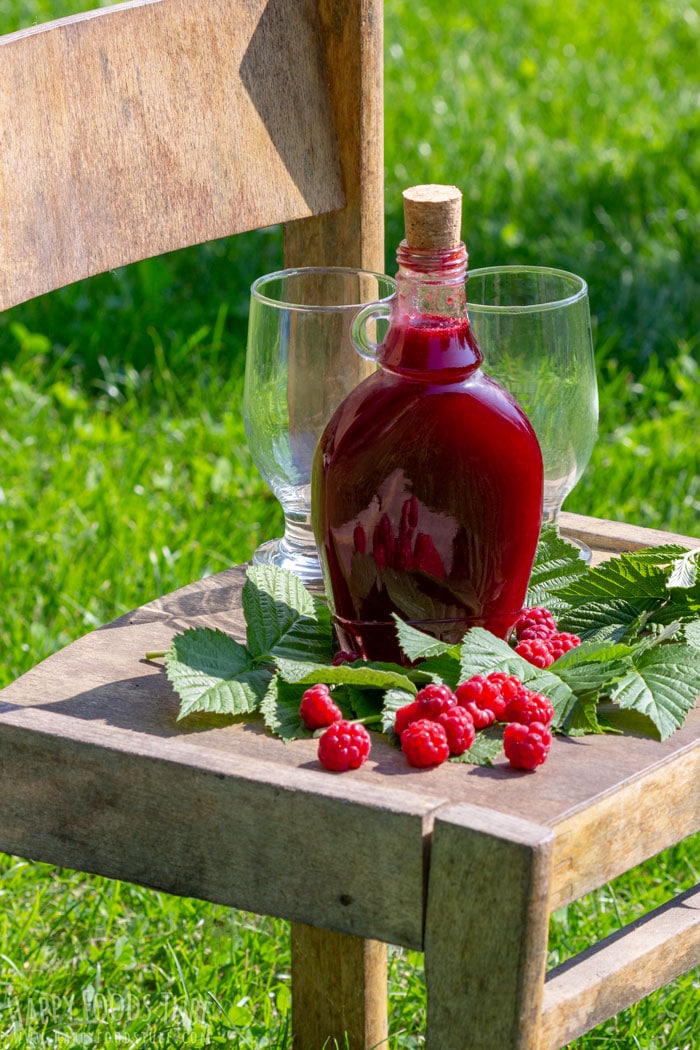
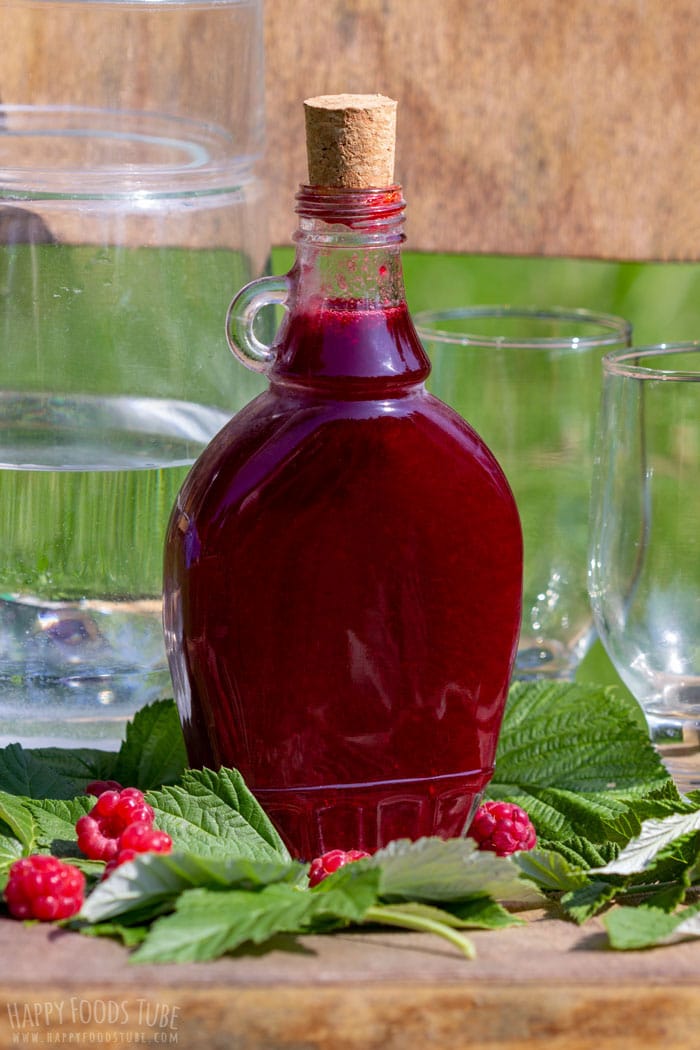
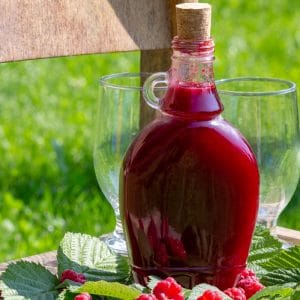
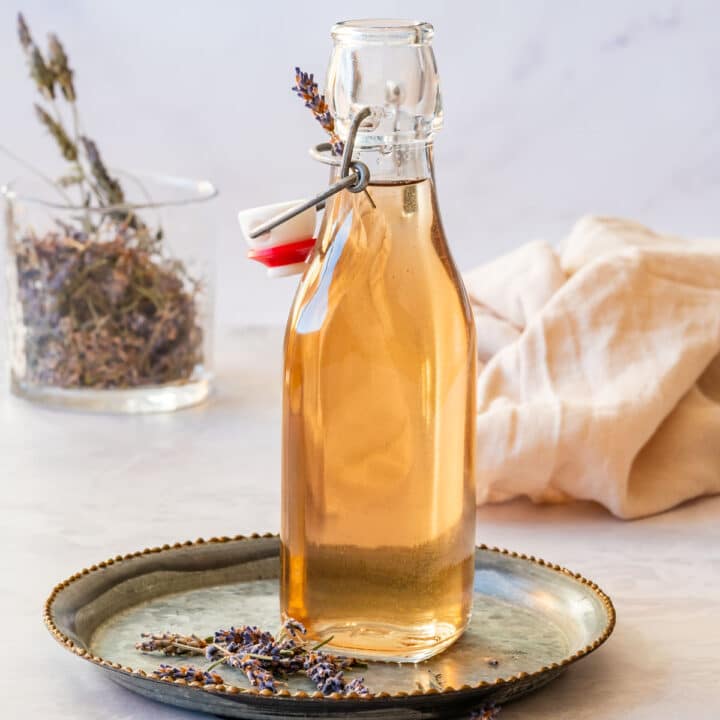
Homemade Raspberry Syrup
This post may contain affiliate links. Please read our disclosure policy.
An easy recipe for homemade raspberry syrup. It’s healthier than shop-bought one, low in added sugar and ready in no time! Mix it with water or pour over pancakes or ice cream.

Raspberries are one of my favorite berries. When I was a kid my grandmother would make homemade raspberry syrup every summer. Now because her recipe takes some time to make, I decided it was time to try my own version of it.
I was happy with the result and also its taste. It tasted like hers but without the lengthy process.
4 reasons why you should make homemade raspberry syrup:
- Easy recipe – you can’t go wrong with this recipe.
- Small batch – This recipe is perfect for small families, or those who prefer to try out recipes in small quantities first or anyone who loves raspberry flavor but does not have a ton of these berries on hand.
- Healthier and fresher than from a shop – no preservatives and no artificial flavorings nor colorings. I also used brown sugar instead of white to make this homemade raspberry syrup a bit healthier.
- Low in added sugar – even though I used sugar, I kept it to a minimum. The raspberries should provide enough sweetness. If you feel, like it’s not sweet enough for you, add more sugar.
Also if you like way sweeter syrups or different flavors, you might like Gingerbread Syrup. It’s not only for the Holiday season!
Raspberry syrup uses:
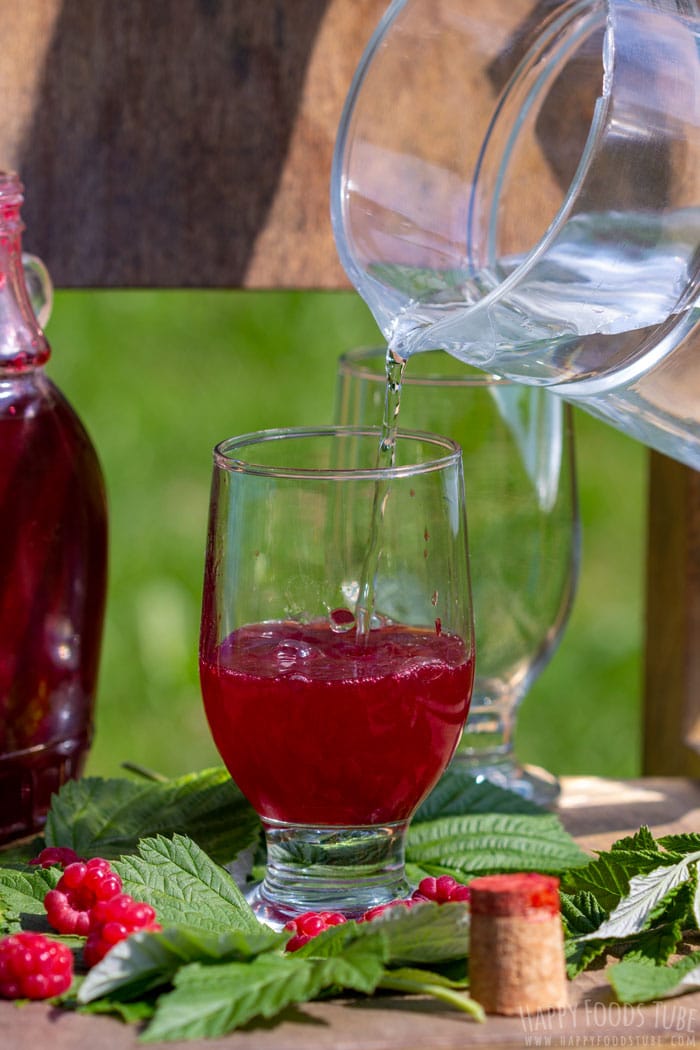
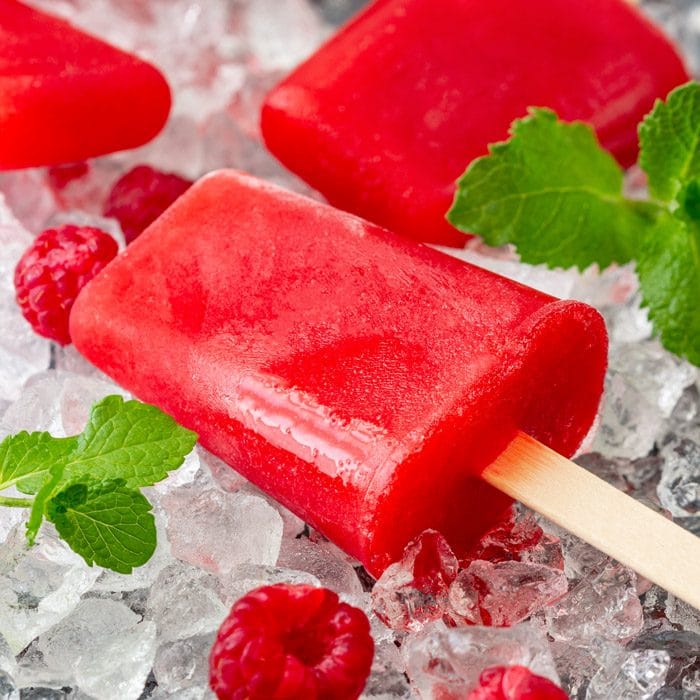
It’s perfect for flavoring pure water or mixing it with seltzer, drizzling some over ice cream or Chocolate Pavlova.
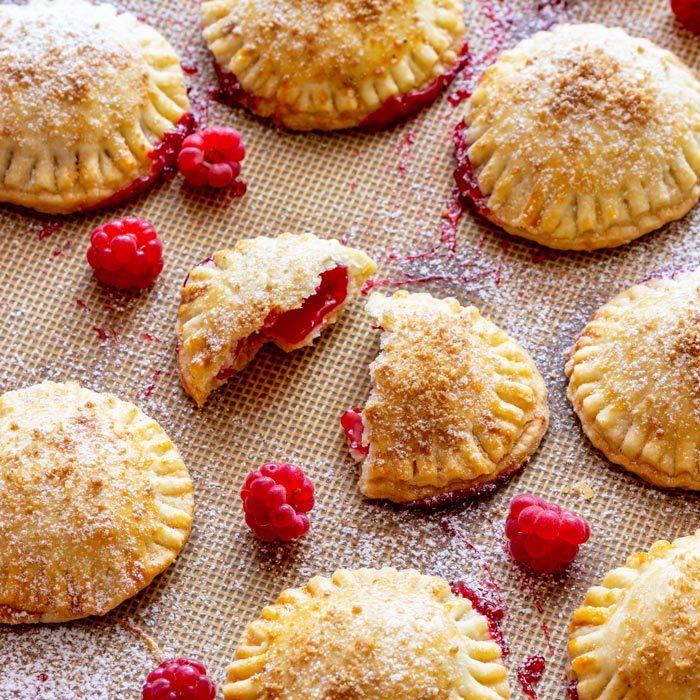
Try making some raspberry flavored cocktail or pour it over pancakes (by the way, have you ever tried Sweet Potato Pancakes? They are divine!)
How to make raspberry syrup
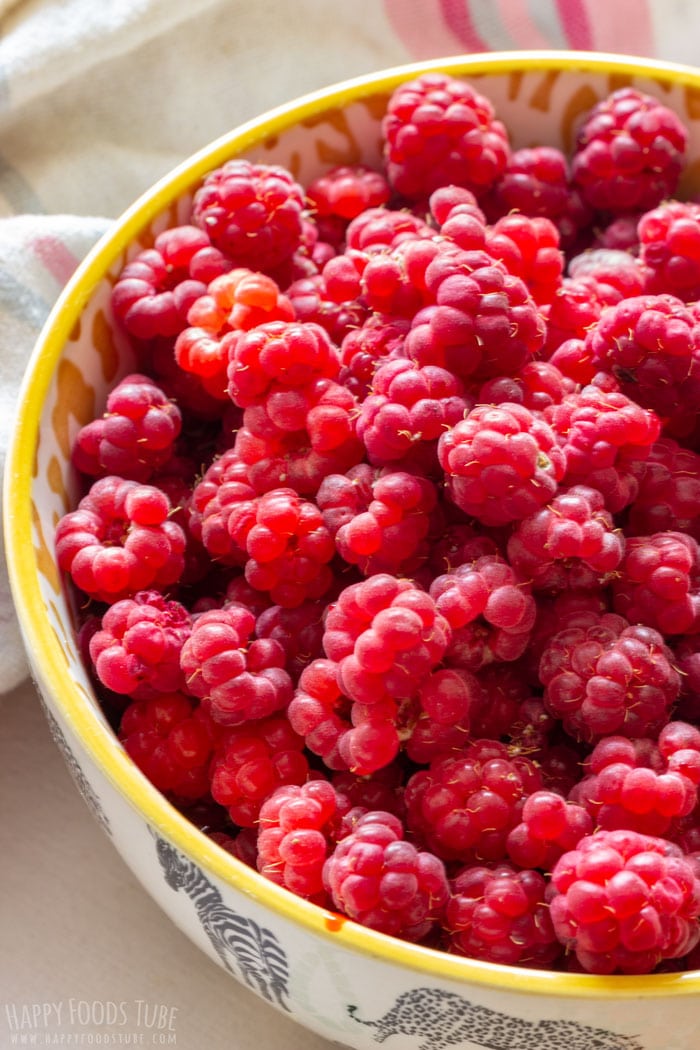
Make sure to rinse the raspberries well under runny water first. When you are done, place them into a sauce pan and add water. They should be simmering for about 15-20 minutes. At that stage they will be soft and mushy.
You will need to run this mushy mixture through a sieve or a cheese cloth to get rid of the seeds. I do not recommend skipping this step unless you don’t mind the seeds (if you don’t have either of those “tools”, you could use other items mentioned in this article: What to use if you don’t have a cheesecloth. I haven’t tried those but some might be helpful).
Now add sugar to this seed-free juice and simmer for a further 10 minutes. Stir this occasionally.
When ready, let it cool and pour it into a glass bottle/jar and seal with a lid (everything has to be sterilized).
Useful tips
- This syrup can be reduced more by simmering it longer. Just bear in mind that you will get less syrup this way.
- Make sure to keep it in the fridge at all times.
- Glass jar/bottle and lid must be sterilized. I usually boil them for 10 minutes in water and use clean cloth and tongs to handle them.
Homemade Raspberry Syrup
Ingredients
- 17 ounces Fresh Raspberries (480g)
- 1½ cup Water (375ml)
- ½ cup brown Sugar (100g)
Instructions
- Rinse the raspberries well under runny water. Transfer them into a saucepan and add water. Bring them to a boil, reduce the heat and simmer for 20 minutes.
- Run them through a sieve to remove the seeds. Add sugar to the remaining clear raspberry juice and simmer for a further 10 minutes.
- Let it cool down completely before pouring it into a jar/bottle and covering with a lid (both need to be sterilized).
- Enjoy with water, seltzer, pancakes, ice cream, cake….
Notes
- Store it in the fridge at all times. Consume within a week.
- Make sure to sterilize the bottle/jar and lid. I boil them submerged in water for 10 minutes and place them onto a clean tea towel. Use sterilized tongs to handle them.
- This recipe can be easily doubled.
- I used dry measurements cups for measuring water.
- If you prefer thicker consistency, simmer for longer.
- When mixed with water or soda, your drink will turn cloudy. This is completely natural.
Nutrition
Nutrition information is an estimate provided by an online nutrition calculator and may vary based on ingredient brands, substitutions, and portion sizes.
Can this be frozen?
Hi Carolyn. I’ve never tried so no idea. Sorry!
I’ve been looking for a raspberry syrup recipe that’s more berries than sugar. Thanks!! 😊😊
You are welcome, Kylie! :)
This looks lovely . Thank you for sharing. How long is this safe to keep in the fridge once opened please. Thank you.
Hi Ileana, thank you. You can find all the instructions in the recipe card under “recipe notes”. I recommend enjoying the syrup within a week, but it can last slightly longer when stored properly in a sterilized bottle, in the fridge. Hope this helps.
I’ve been cooking ALL the fruit lately…everything except raspberries. I need to get with the program LOL b/c this sounds delicious :) Thanks for sharing!
You are welcome, Traci! :)
Mmm this would be delicious over ice cream, perfect for summer!
Definitely!
Yum! Syrup is so much better homemade than from the store. Thanks for sharing this delicious recipe!
You are welcome!
So pretty! Raspberries are one of my favorite fruits so this is right up my alley! :)
Thank you, Sherri!
I adore raspberries, but I’ve never made syrup with them. Totally inspired to try it now!
Great to hear that!
i have a question about this recipe, why use brown sugar instead of white granulated sugar
Hi Lisa. It does not matter whether you use white or brown sugar. I used what I had on hand.