
Homemade Bounty Bars
This post may contain affiliate links. Please read our disclosure policy.
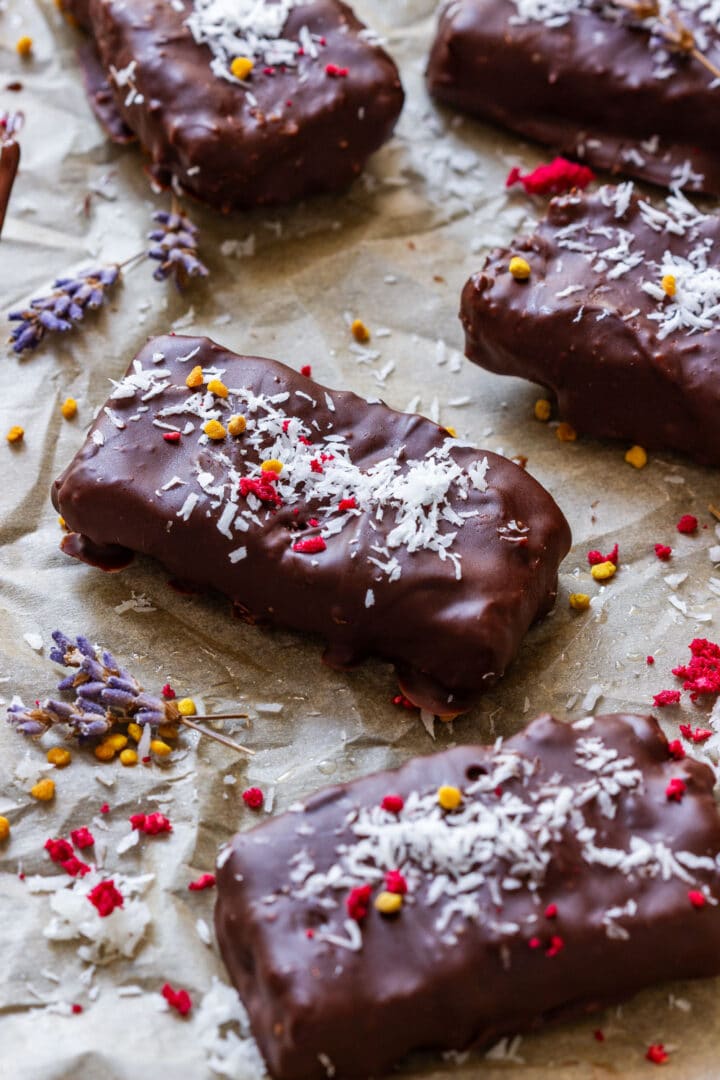
Homemade Bounty bars are made with 4 ingredients and no condensed milk in the filling.
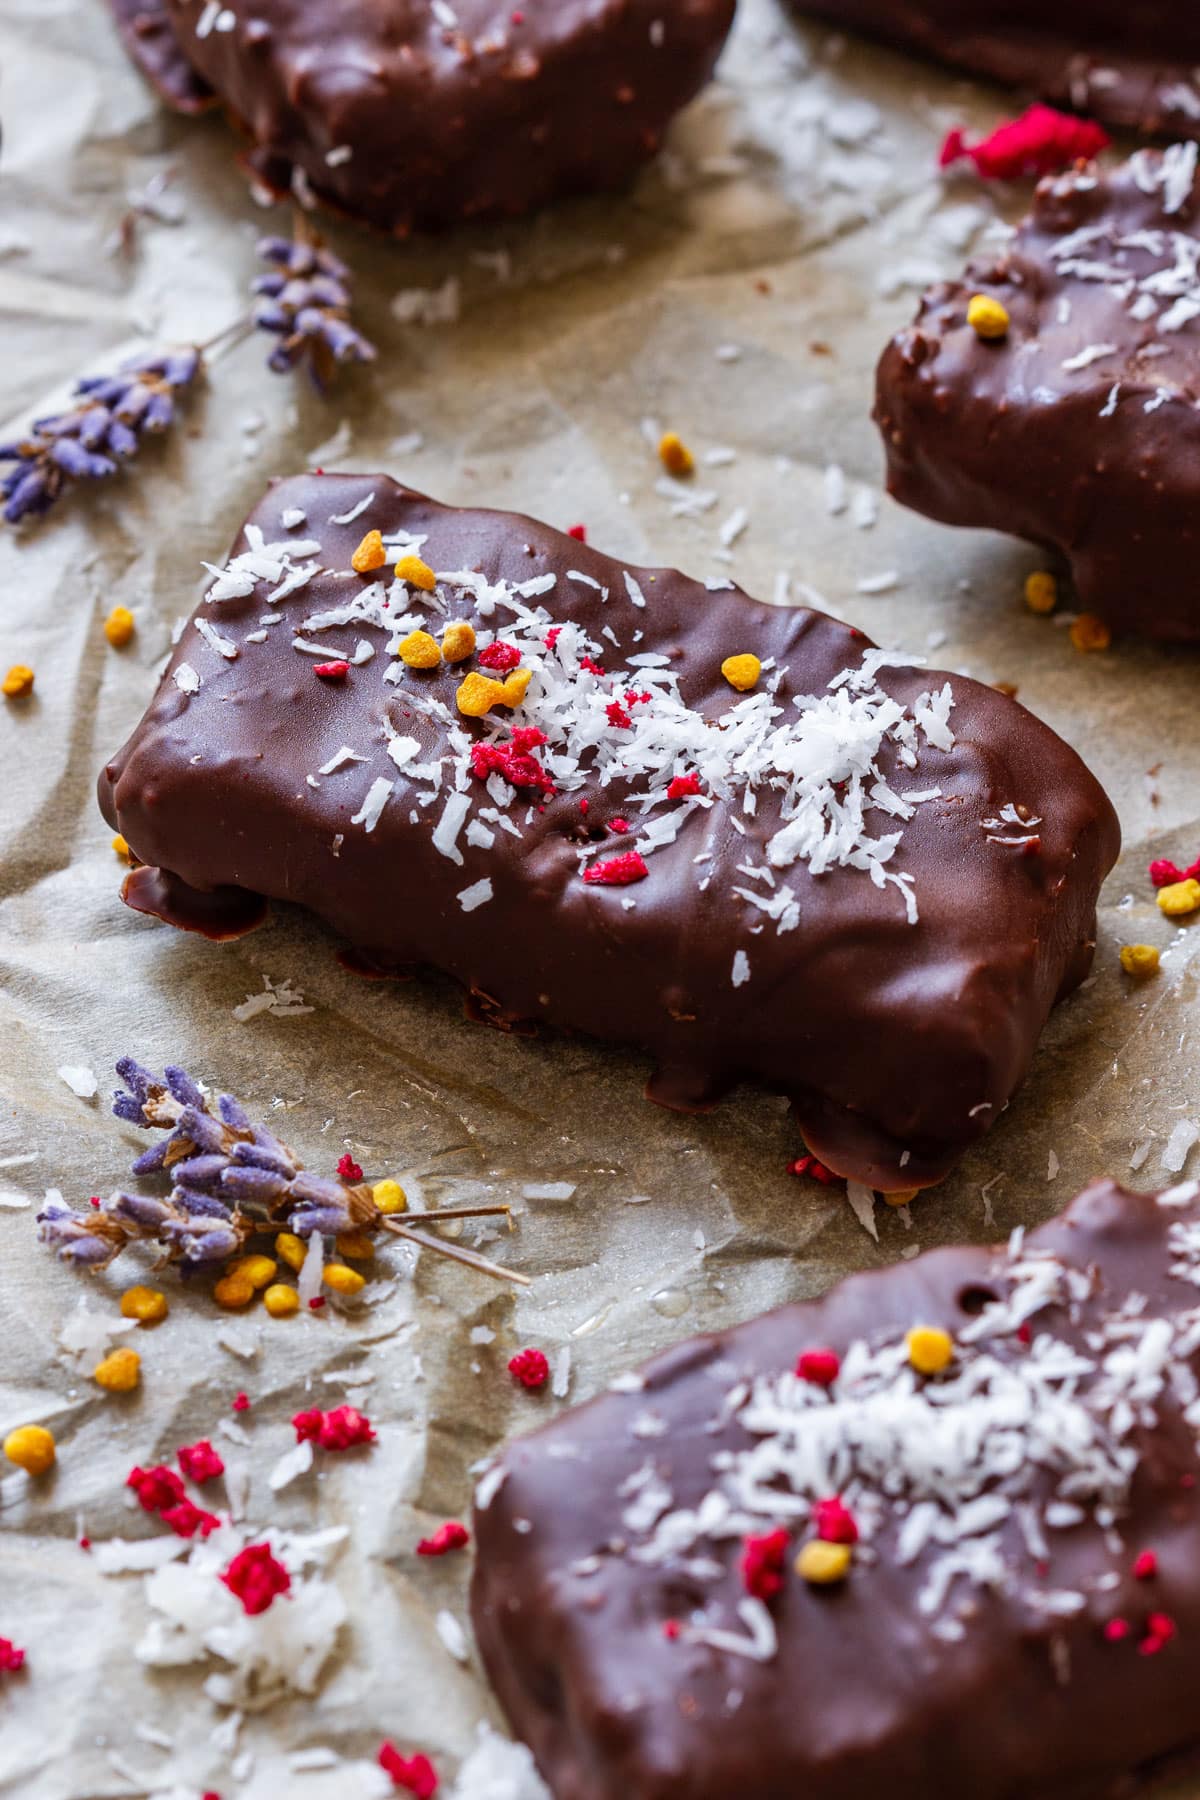
If you like coconut desserts or snacks, you will like these homemade Bounty bars. They are a no-bake treat that can be kept in the fridge or freezer, so you can make them ahead of time.
Why make chocolate covered coconut bars?
- Only 4 ingredients: desiccated coconut, coconut oil, honey and chocolate are all you need.
- No condensed milk: honey is used to sweeten the coconut filling instead.
- No baking: the coconut mixture sets in the freezer before the bars are dipped in chocolate.
- Perfect project for kids: the active prep is quick, so kids won’t get bored when making these.
Bounty bars are similar to Mounds, with a coconut center covered in chocolate.
What is the difference between desiccated and shredded coconut?
Desiccated coconut is dried and grated into finer pieces, so it is drier than shredded coconut.
I use unsweetened desiccated coconut for these bars, but unsweetened shredded coconut can be used instead.
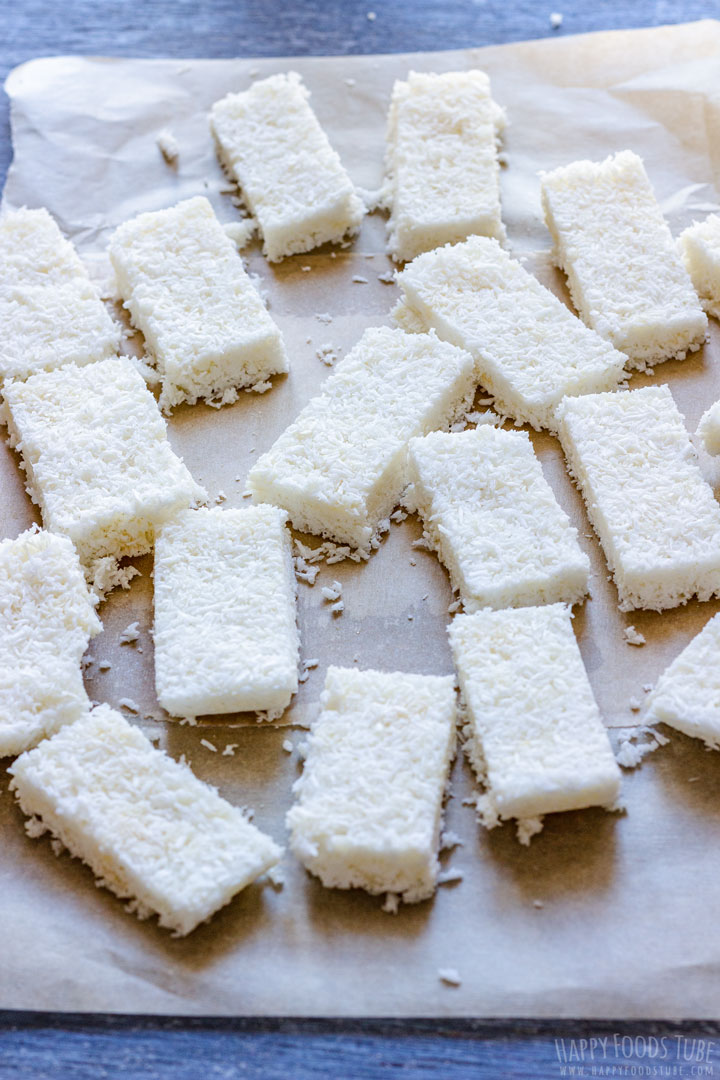
Storage
These homemade Bounty bars can be stored in the fridge or freezer. There is no need for thawing. You can enjoy them right from the freezer or within a few minutes, if you prefer.
Note that in summer, the chocolate coating starts melting pretty fast if you are outdoors or in a very warm room.
Tips for making homemade Bounty bars
More honey can be used, but I do recommend making these coconut bars using the exact measurements first and adding more only after tasting.
Use either semi-sweet/bittersweet or dark chocolate with around 70% cocoa content for coating.
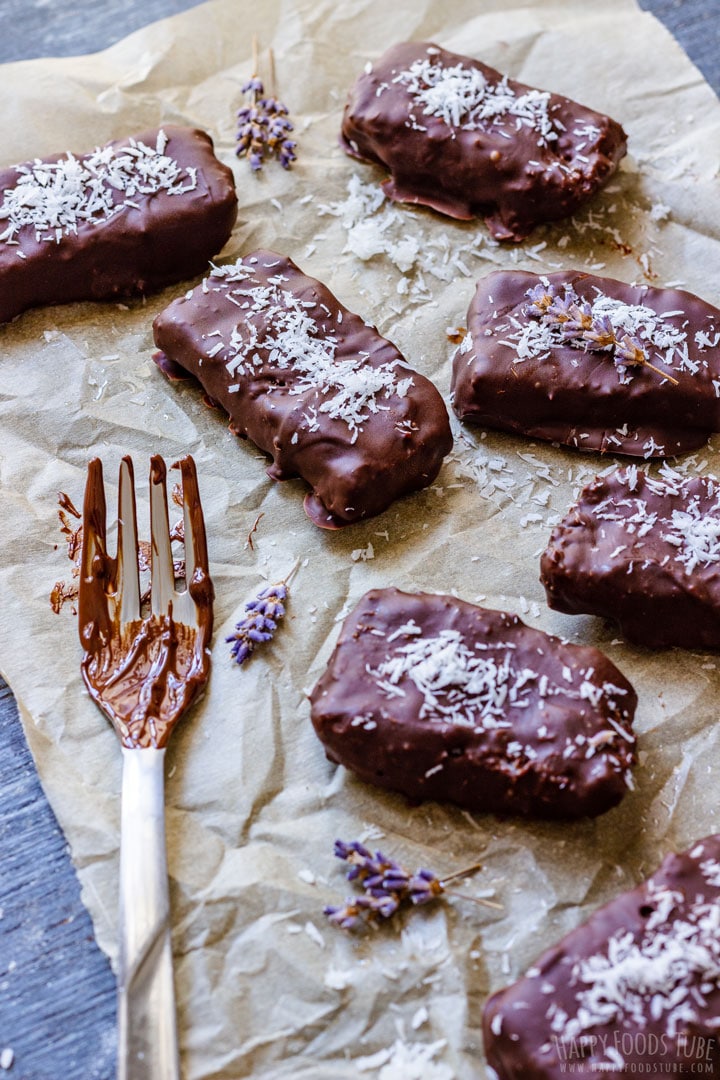
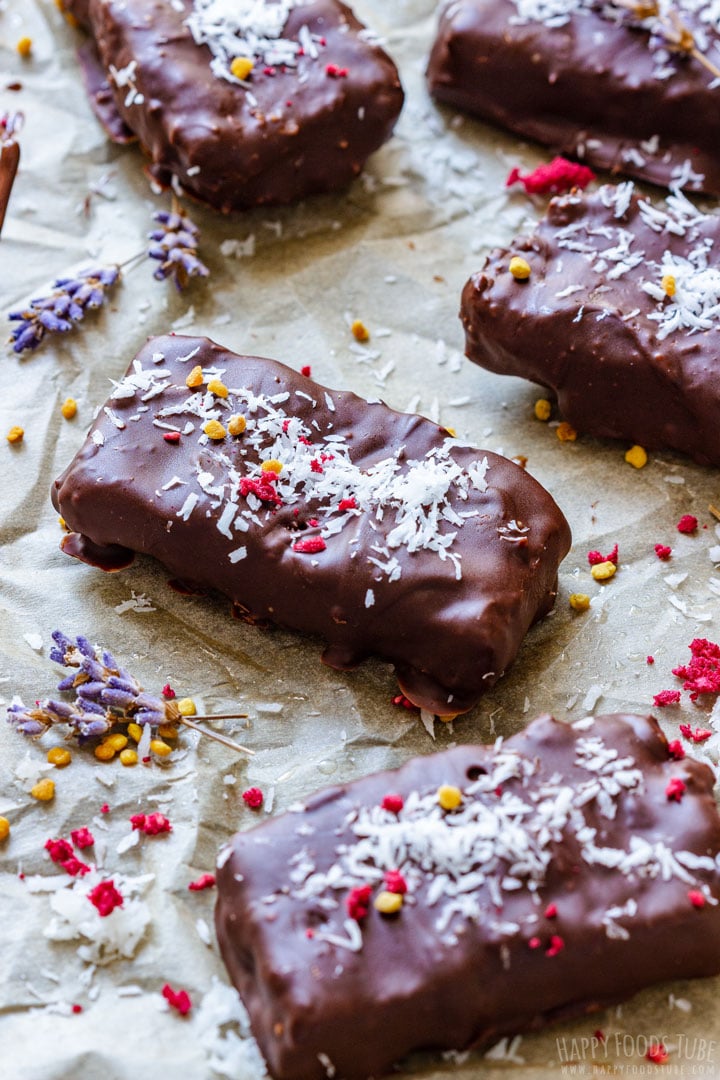
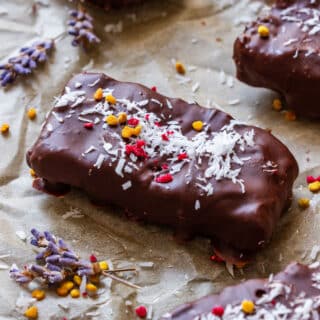
My favorite way of finishing these homemade Bounty bars is with a little coconut and some edible lavender. The lavender gives them such a nice flavor. Make sure it is culinary or food-grade lavender. I use it on my chocolate covered dates too. You can also decorate the bars with bee pollen, crushed freeze-dried berries or sprinkles. If you have a pollen allergy or are allergic to bee products, skip the bee pollen.
Any leftover coconut can be used to make Raffaello coconut balls.
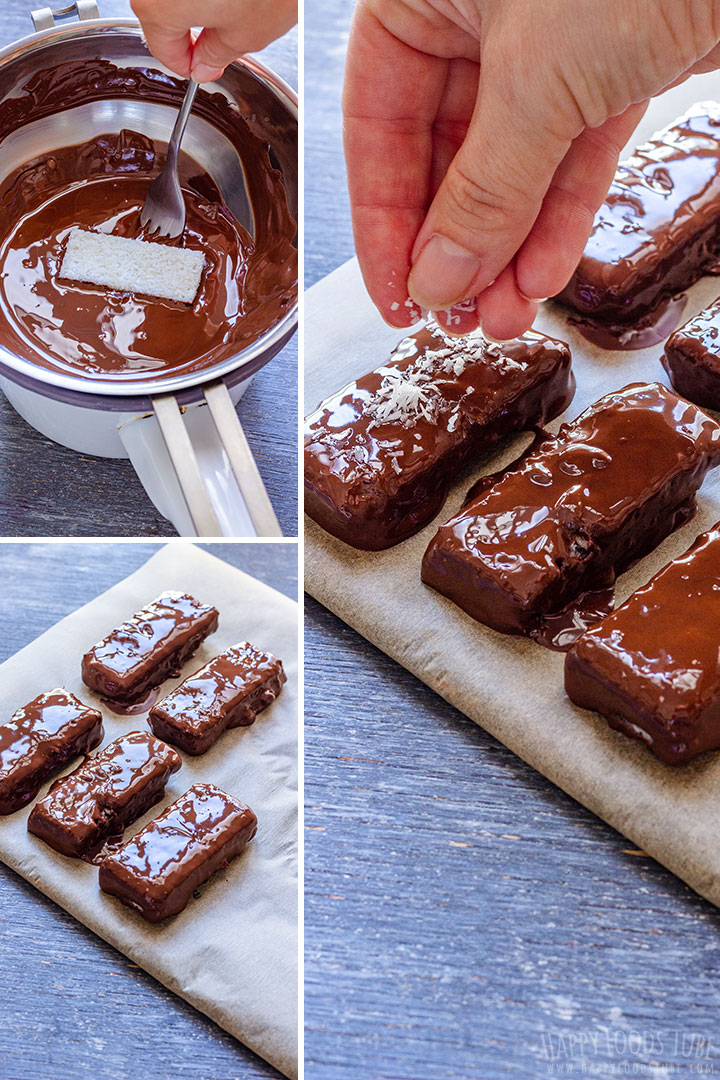
Keep a small baking tray in the freezer before coating the bars. Then line it with parchment paper and place each chocolate-covered Bounty bar onto the cold tray. They will set faster, which stops the chocolate from spreading too much. You might need to work in stages if you want to add coconut, lavender or sprinkles because they will not stick once the chocolate has hardened.
Note that if you are making these chocolate coconut bars in summer, the coconut oil will soften quicker. If the bars are not frozen properly or sit for too long in a warm kitchen before coating, they can go soft and might break when dipped in the melted chocolate.
Here are more no-bake treats you might like:
- No-Bake Date Bars
- No-Bake Chocolate Biscuit Cake
- Chocolate Walnut Truffles
- Apricot Coconut Popsicles
- Frozen Chocolate Banana Bites
If you want to see how I dip and coat the coconut bars, watch the short video in the recipe card below.
Homemade Bounty Bars
Ingredients
- 2 cups unsweetened desiccated coconut
- ½ cup coconut oil melted
- 2 tablespoons honey
- 1½ cups semi-sweet chocolate chips
Instructions
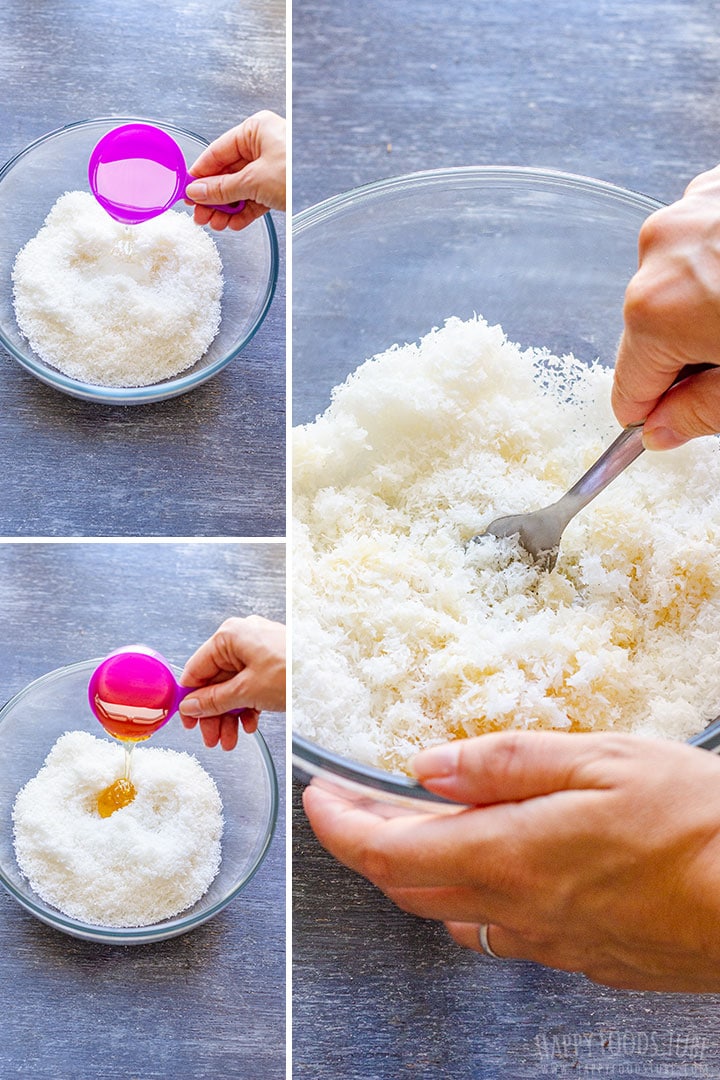
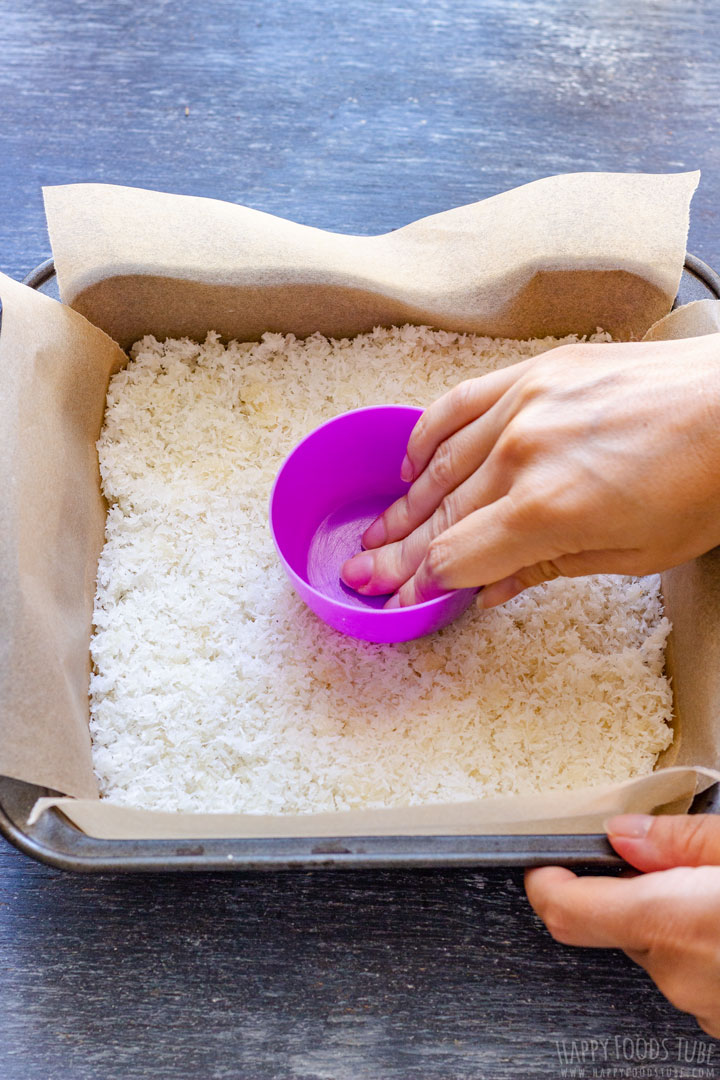
- In a mixing bowl, mix the coconut, coconut oil and honey until well combined. Pour the mixture into a 9×9-inch (23×23-cm) brownie pan lined with parchment paper and spread it around evenly. With the back of a flat measuring cup or ramekin, press down the mixture until it is well packed.
- Transfer the pan to the freezer and keep it there until set, at least 1 hour. If it is not set properly, the bars can crumble and might break when slicing.
- Take the set mixture out and slice it into 18 pieces: 6 strips, then cut each strip into 3 pieces.
- Place a small baking tray lined with parchment paper in the freezer so the chocolate coating will set faster. Melt the chocolate using your preferred method. I melted mine in a small saucepan set over a larger saucepan of gently simmering water.
- Dip each piece in the melted chocolate and place it onto the cold tray.
- Top with shredded coconut, edible lavender or sprinkles of your choice. Chill until the chocolate is set.
- Enjoy!
Video
Notes
- Coconut: Use unsweetened desiccated coconut. Unsweetened shredded coconut can be used instead.
- Sweetener: Instead of honey, you can use maple syrup or agave syrup. They have different levels of sweetness, so start with the same amount and adjust to taste if needed.
- Chocolate: 1½ cups of chocolate chips gives you just enough to coat 18 bars with barely any leftovers. You might need to spread the chocolate over the last 2 to 3 bars with a spatula. If you prefer to dip every bar, increase the chocolate chips to 2 cups. Check the chocolate label if you need these bars to be gluten-free.
- Chill time and make ahead: The 2-hour chill time includes freezing the coconut mixture and chilling the chocolate-coated bars until set. You can also make these in stages. Freeze the coconut mixture the night before, then coat the bars in chocolate the following day.
- Storage: Store in the fridge or freezer.
Nutrition
Nutrition information is an estimate provided by an online nutrition calculator and may vary based on ingredient brands, substitutions, and portion sizes.
Quick and easy – thank you, saved my day!
You are welcome, Michael!
Love these! The perfect healthy treat!
Hi Julia, thanks for this simple yet wonderful recipe. Your tip about freezing was very helpful.
You are welcome, Christina!
My husband and I loved these! Such great flavors.
Thanks so much for your feedback, Melinda.