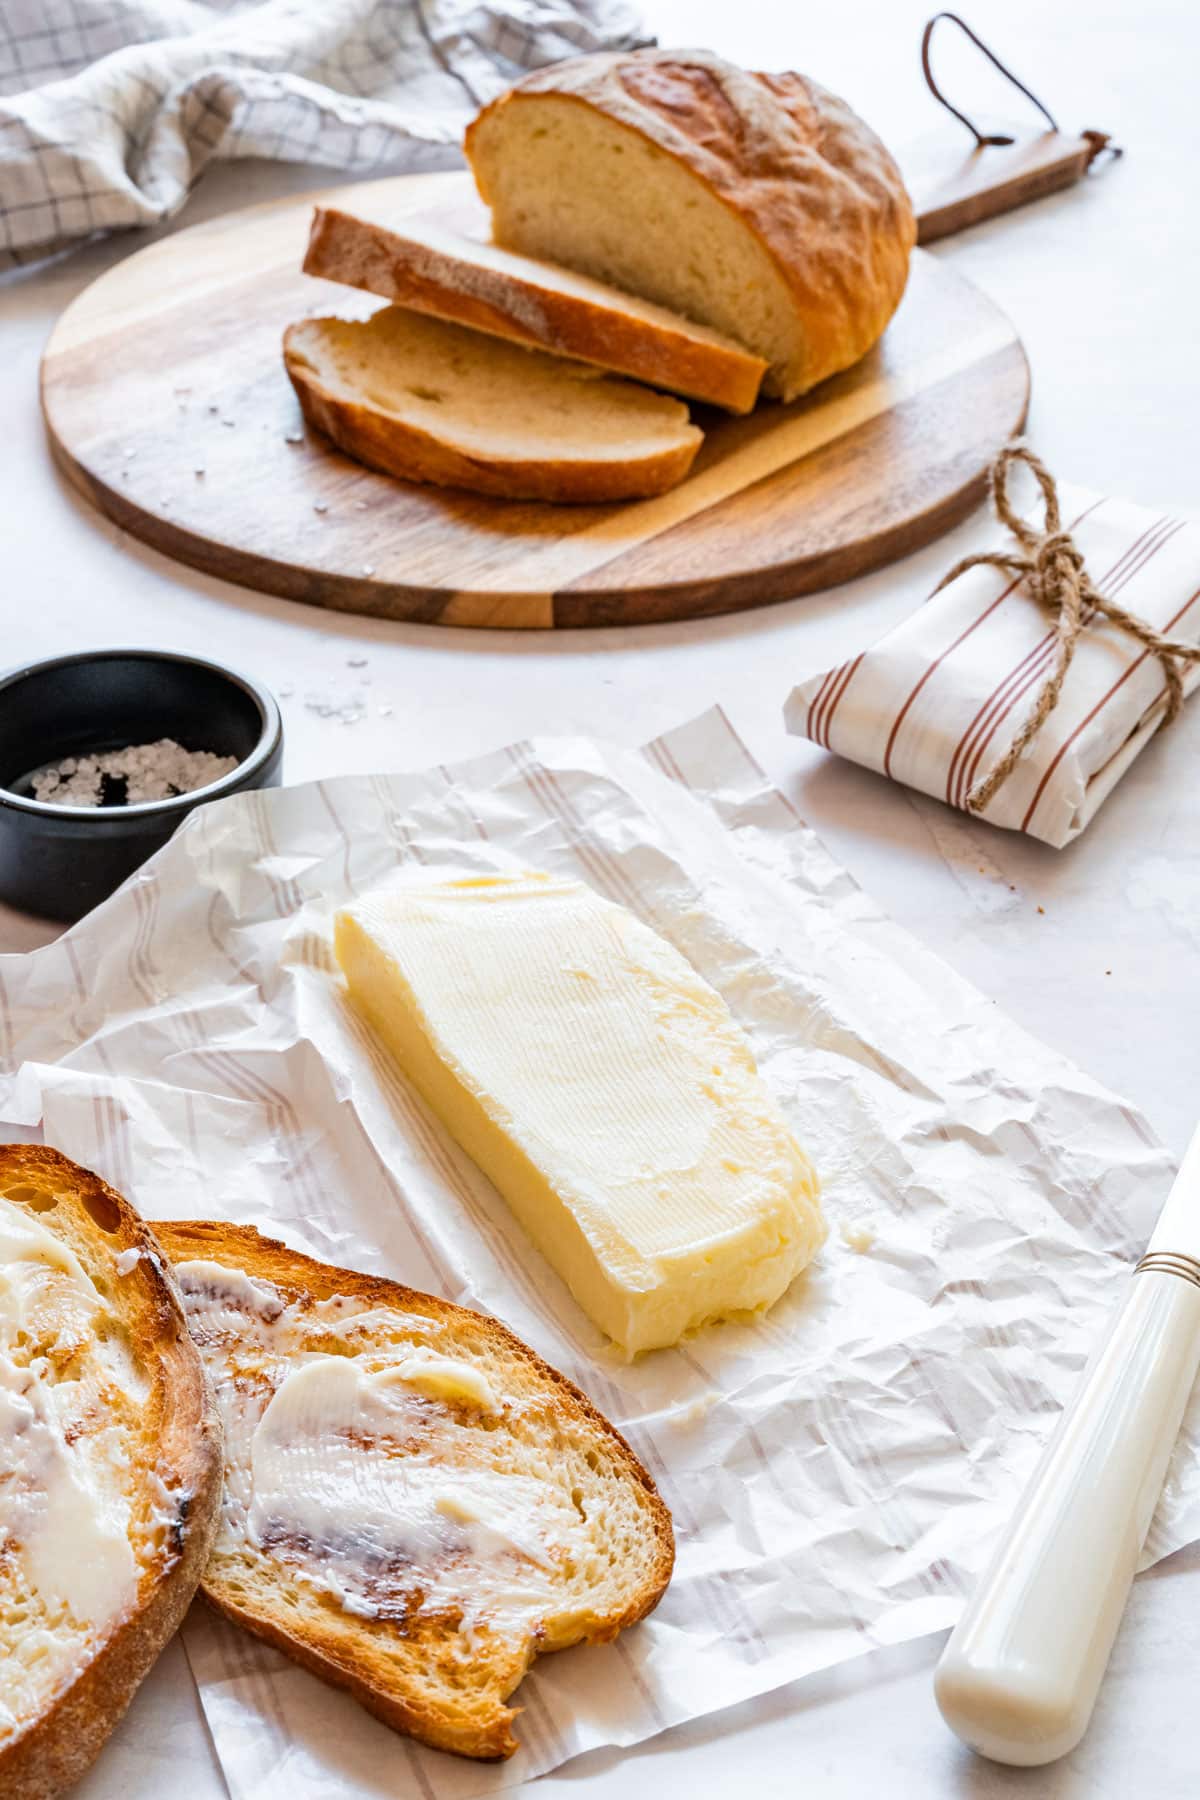
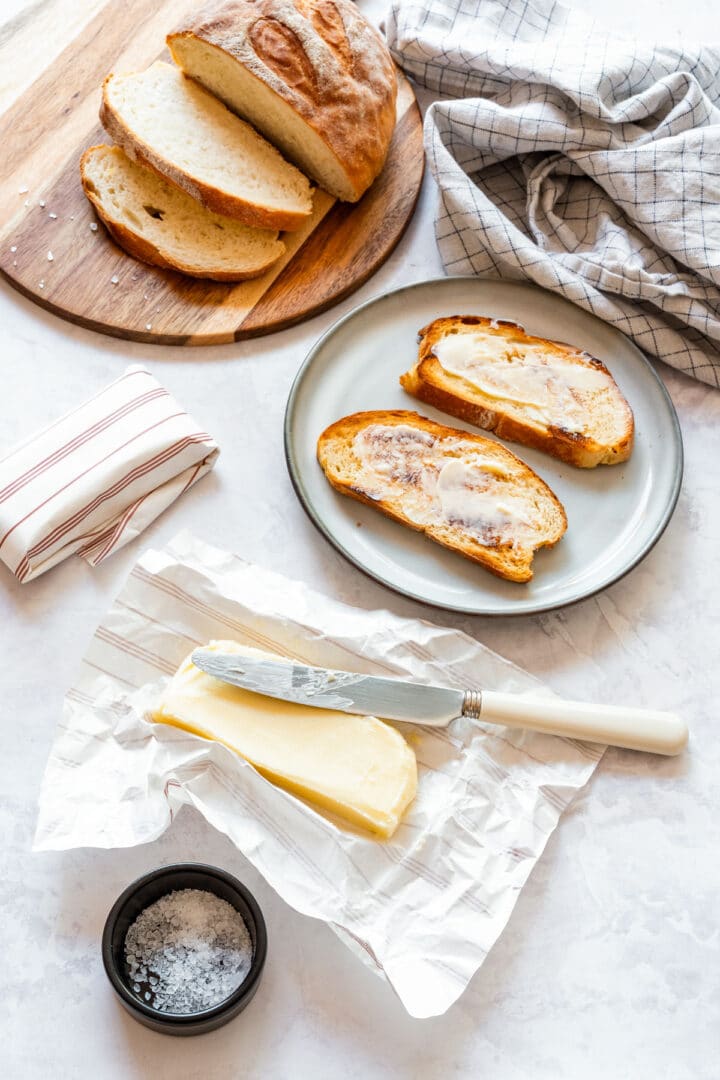
Homemade Butter
This post may contain affiliate links. Please read our disclosure policy.
This easy homemade butter recipe uses a stand mixer with a whisk attachment, and it comes together in about 10 minutes.
The first time I made butter from scratch was at a bakery where I worked. I accidentally overmixed whipped cream to the point it turned into butter.
Today, I don’t do it accidentally. I do it on purpose. And the result is just delicious!
Making butter at home is easier than you might think and you don’t need any butter churner to give it a go.
How to make homemade butter
Churn the cream to make butter
This step is done in a Kitchen Aid mixer. If you don’t have one, try a food processor. A glass jar with a lid will also work, but it will take a lot of elbow grease!
With the Kitchen Aid stand mixer, it takes less than 10 minutes!
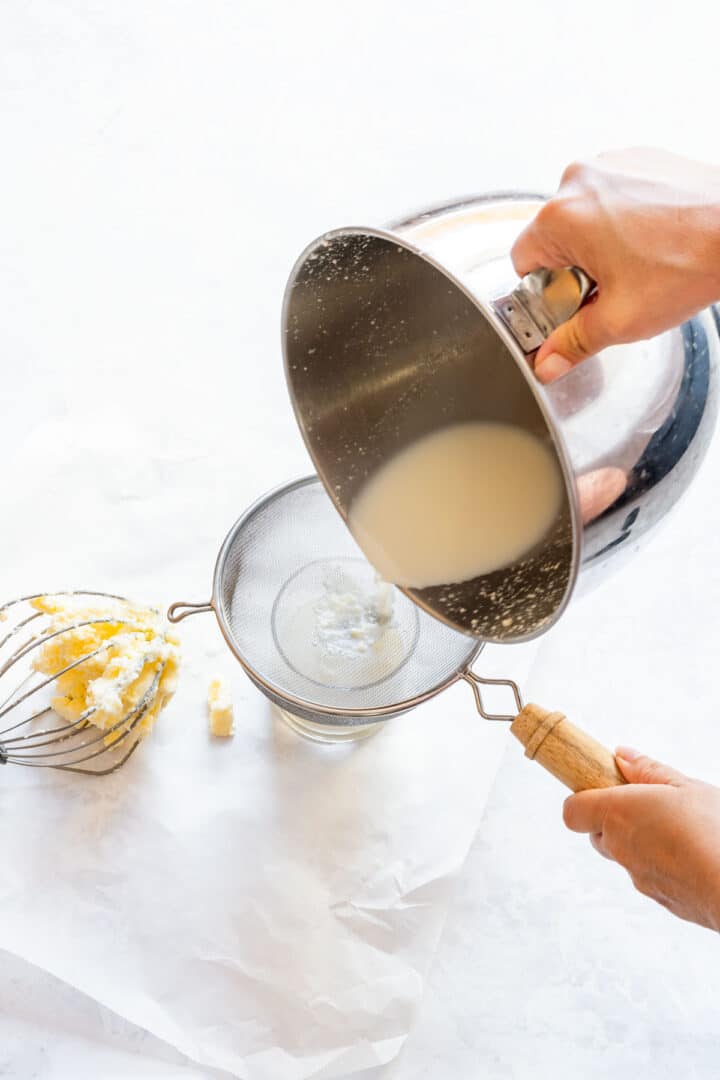
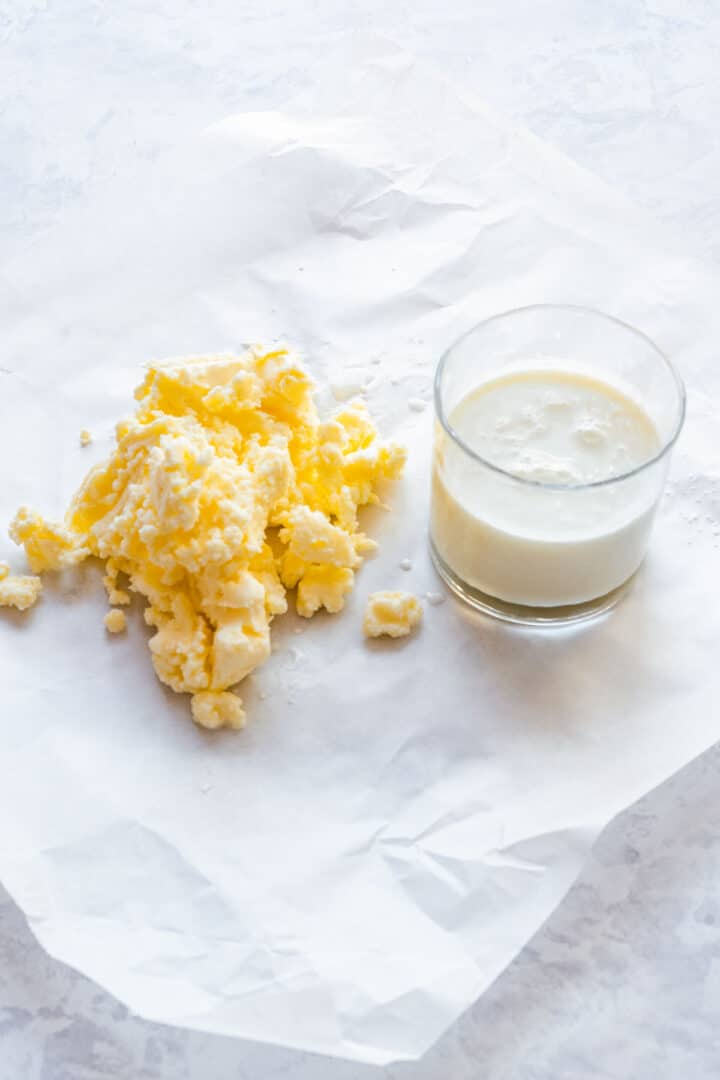
Separate the butter from the buttermilk
This step requires removing the liquid from solids. The white liquid is buttermilk and can be easily strained through a fine-mesh strainer. Don’t discard it though! Use it in cooking or baking.
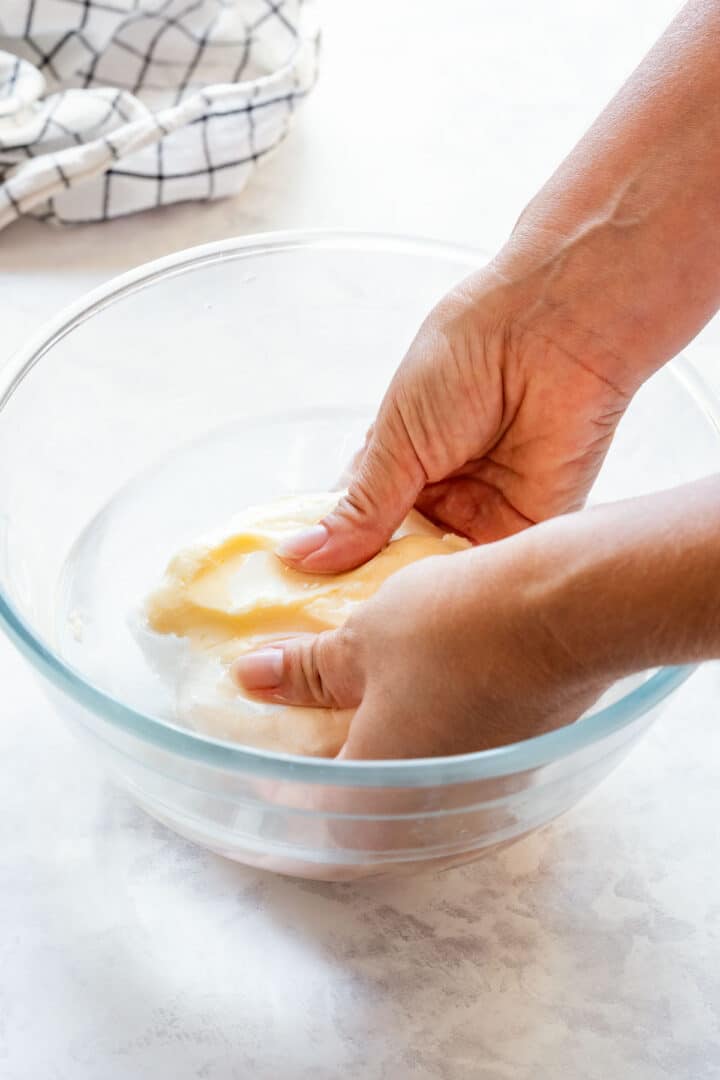
Rinse and shape the butter
After you bring the butter solids together, you will have to clean it in chilled water. This step is very important. It not only removes any leftover buttermilk but also helps extend the shelf life of butter.
Rinsing the butter 3 times works best for me and that is what I recommend. If the water you rinsed your butter in is still not clear, repeat the process.
You can use 1 bowl and change the water 3 times or prepare 3 bowls ready with chilled water. The second option is not that messy. I recommend that one.
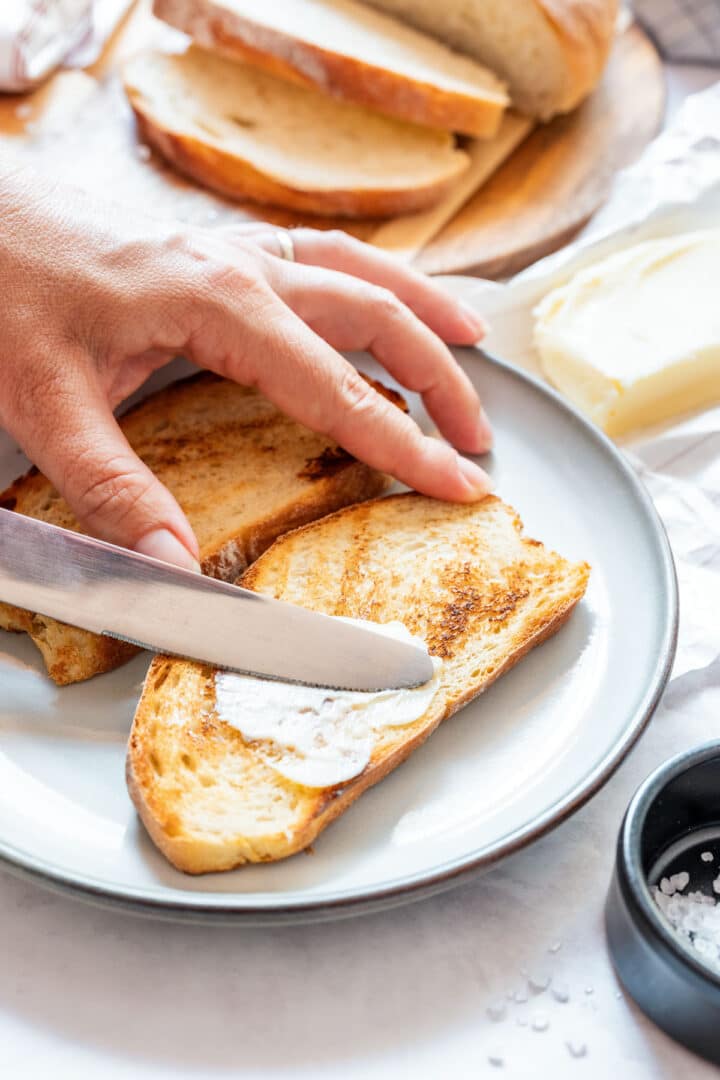
Where to use it?
In baking, it can give you inconsistent results, but it will work just fine in simple recipes like a pear crisp or homemade apple filling. You can also use it for appetizers like a butter board with toppings.
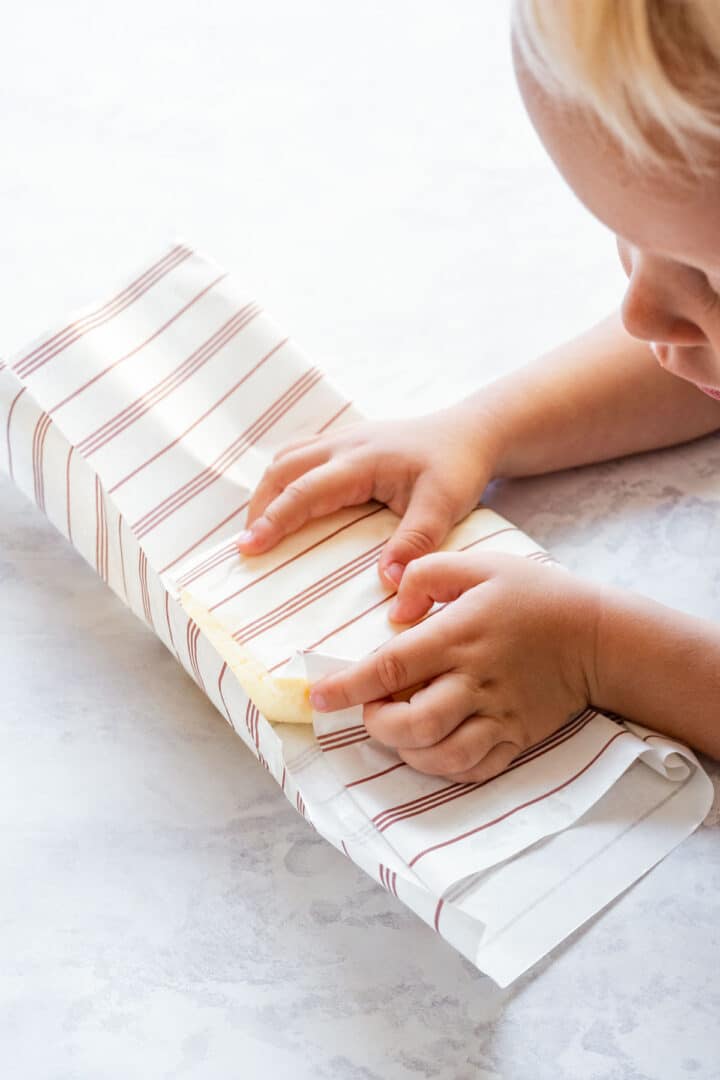
Storage
Store in a jar/bowl or wrapped in a sheet of baking parchment.
Always keep homemade butter in the fridge. This way, it should last up to a week. You can also freeze it for later use.
Frequently asked questions
A US pint of heavy whipping cream (approximately 500 milliliters) will yield 7 ounces (200 grams) of fresh butter. This is almost 2 sticks of butter.
You can, if you like. It extends its shelf life further.
No. Chilled water will work just fine. Just pop it in the freezer for 1 hour prior to butter making.
In pancakes or muffins. I use it when making brown soda bread.
You can also add it to yogurt or kefir-based marinades or mashed potatoes.
It turns sour and you can taste it.
Flavored butter recipe ideas
- Lemon Dill Compound Butter – good for bread, vegetables or fish.
- Parmesan Chive Butter – perfect for steak or roast chicken.
- Fresh Strawberry Butter – A delicious topping for a toast or artisan bread.
- Roasted Garlic Butter – This can go under the skin of a turkey or add it to the pan when roasting vegetables.
Watch how to make homemade butter
Homemade Butter Recipe
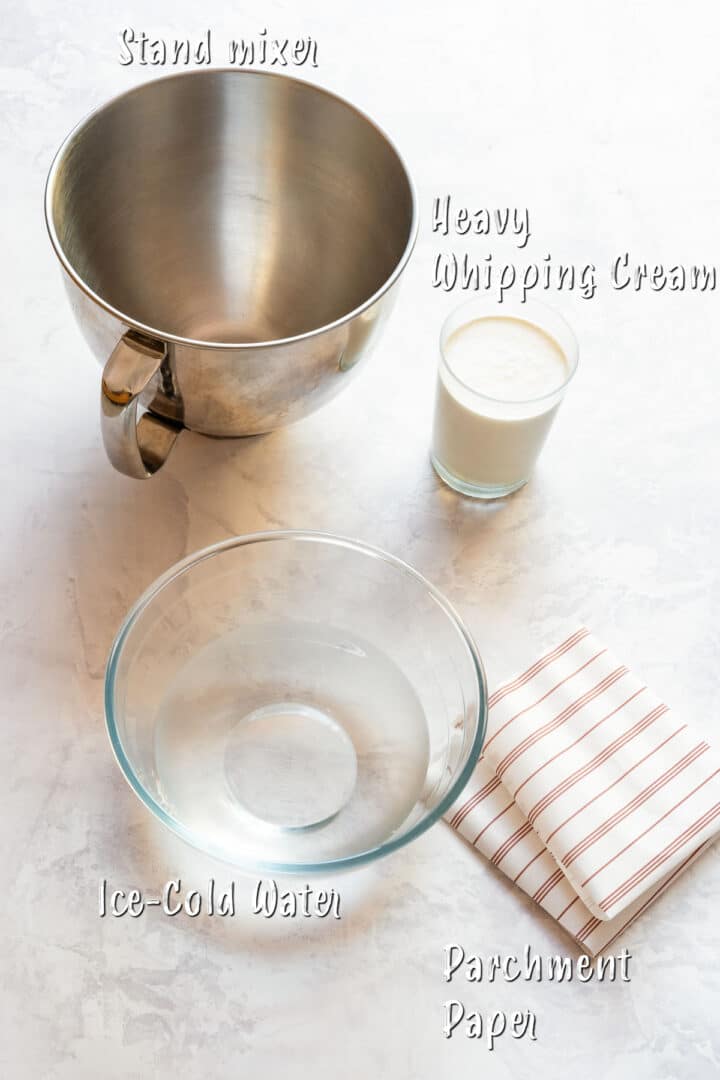
Ingredients
- 2 cups heavy whipping cream 500 milliliters, see note 1
Instructions
- Either chill a large bottle of water in the freezer for 1 hour or have ice ready to make ice-cold water.
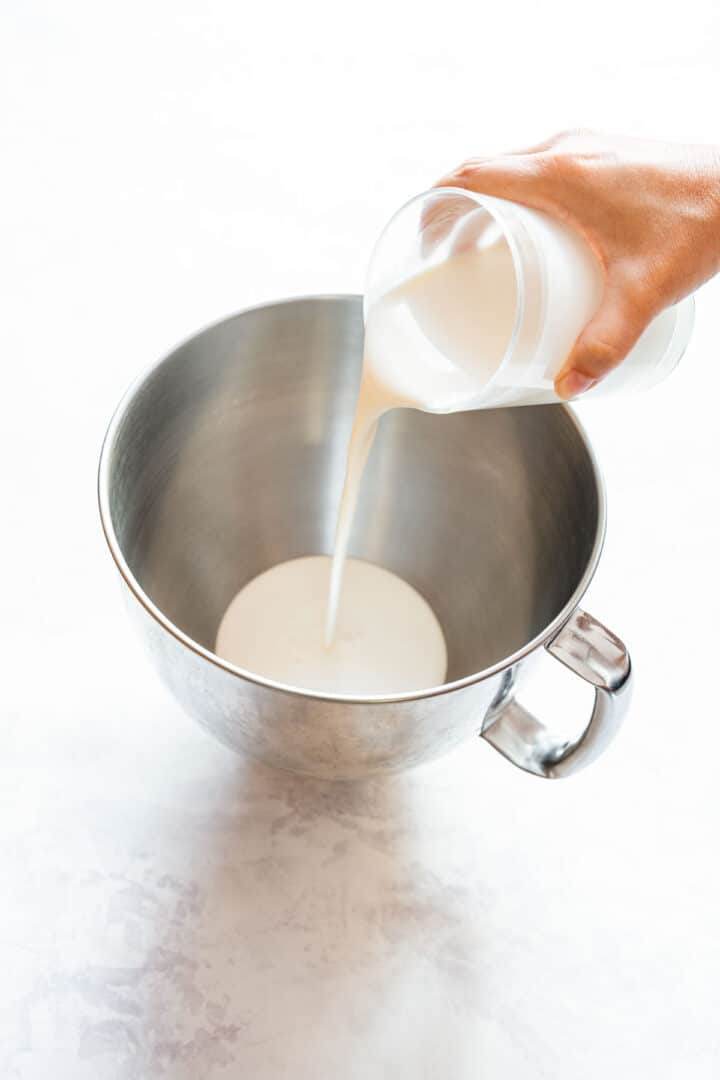
- To a bowl of a stand mixer, add heavy whipping cream. Cover with a splash guard. With the whisk attachment, beat the cream on medium speed for about 5 minutes.
- After this time, it should not take long for the solids and liquid to separate so stand by. Once you see the liquid starts splashing, turn it off. This stage is ready.
- Strain the buttermilk (save it for cooking or baking if you want) and transfer the leftover solids (butter) onto a baking parchment (or a plate). Press them together to form a ball.
- Place butter in a bowl with ice-cold water and gently press and “knead” it to remove any remaining buttermilk.
- Drain the “dirty” water, add fresh water and clean 2 more times or until the water is clear.
- Transfer the butter into a jar or bowl. Or, wrap it in baking parchment and shape it into a log or brick.
- Store in the fridge at all times.
Notes
- You will need 1 US pint (or 500 milliliters) of heavy cream/whipping cream/double cream.
- This recipe yields almost 2 sticks of butter (7 ounces/200 grams).
- You might need to scrape the cream off of the sides of the bowl is it is not mixing evenly.
- Don’t forget about it. If you do, you will have buttermilk splashed all over your kitchen counter!
- This butter should last up to a week when stored properly. If you made too much, freeze it and use it whenever you need it.
- Salt can be added in step 7, just before packing it. You will need to knead it again to evenly distribute the salt.
Nutrition
Nutrition information is an estimate provided by an online nutrition calculator and may vary based on ingredient brands, substitutions, and portion sizes.
I saw your Youtube story and got curious about making butter from heavy cream. I gave it a try and it came out beautifully, even better than store-bought. Amazing!
Yay, I am so happy to hear that, Jessica!