
Homemade Ice Cream Cones

This post may contain affiliate links. Please read our disclosure policy.
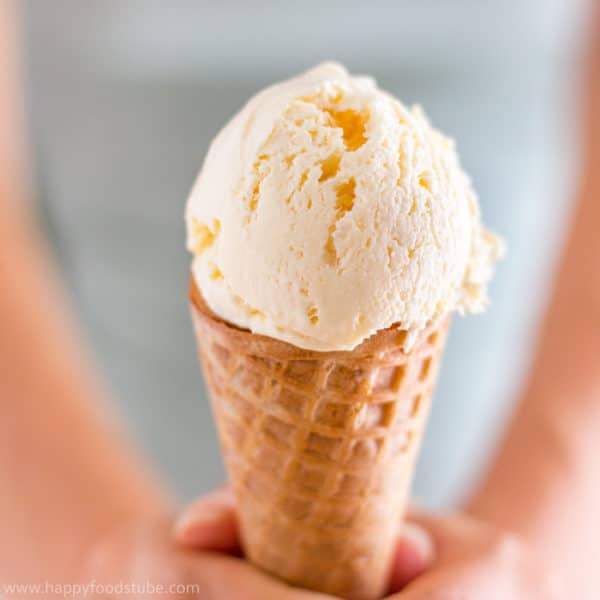
These homemade ice cream cones are baked in the oven, so you don’t need a waffle maker. The batter is made with egg whites, sugar, flour, milk, butter and a pinch of salt. It is baked into thin rounds that are shaped while still warm.
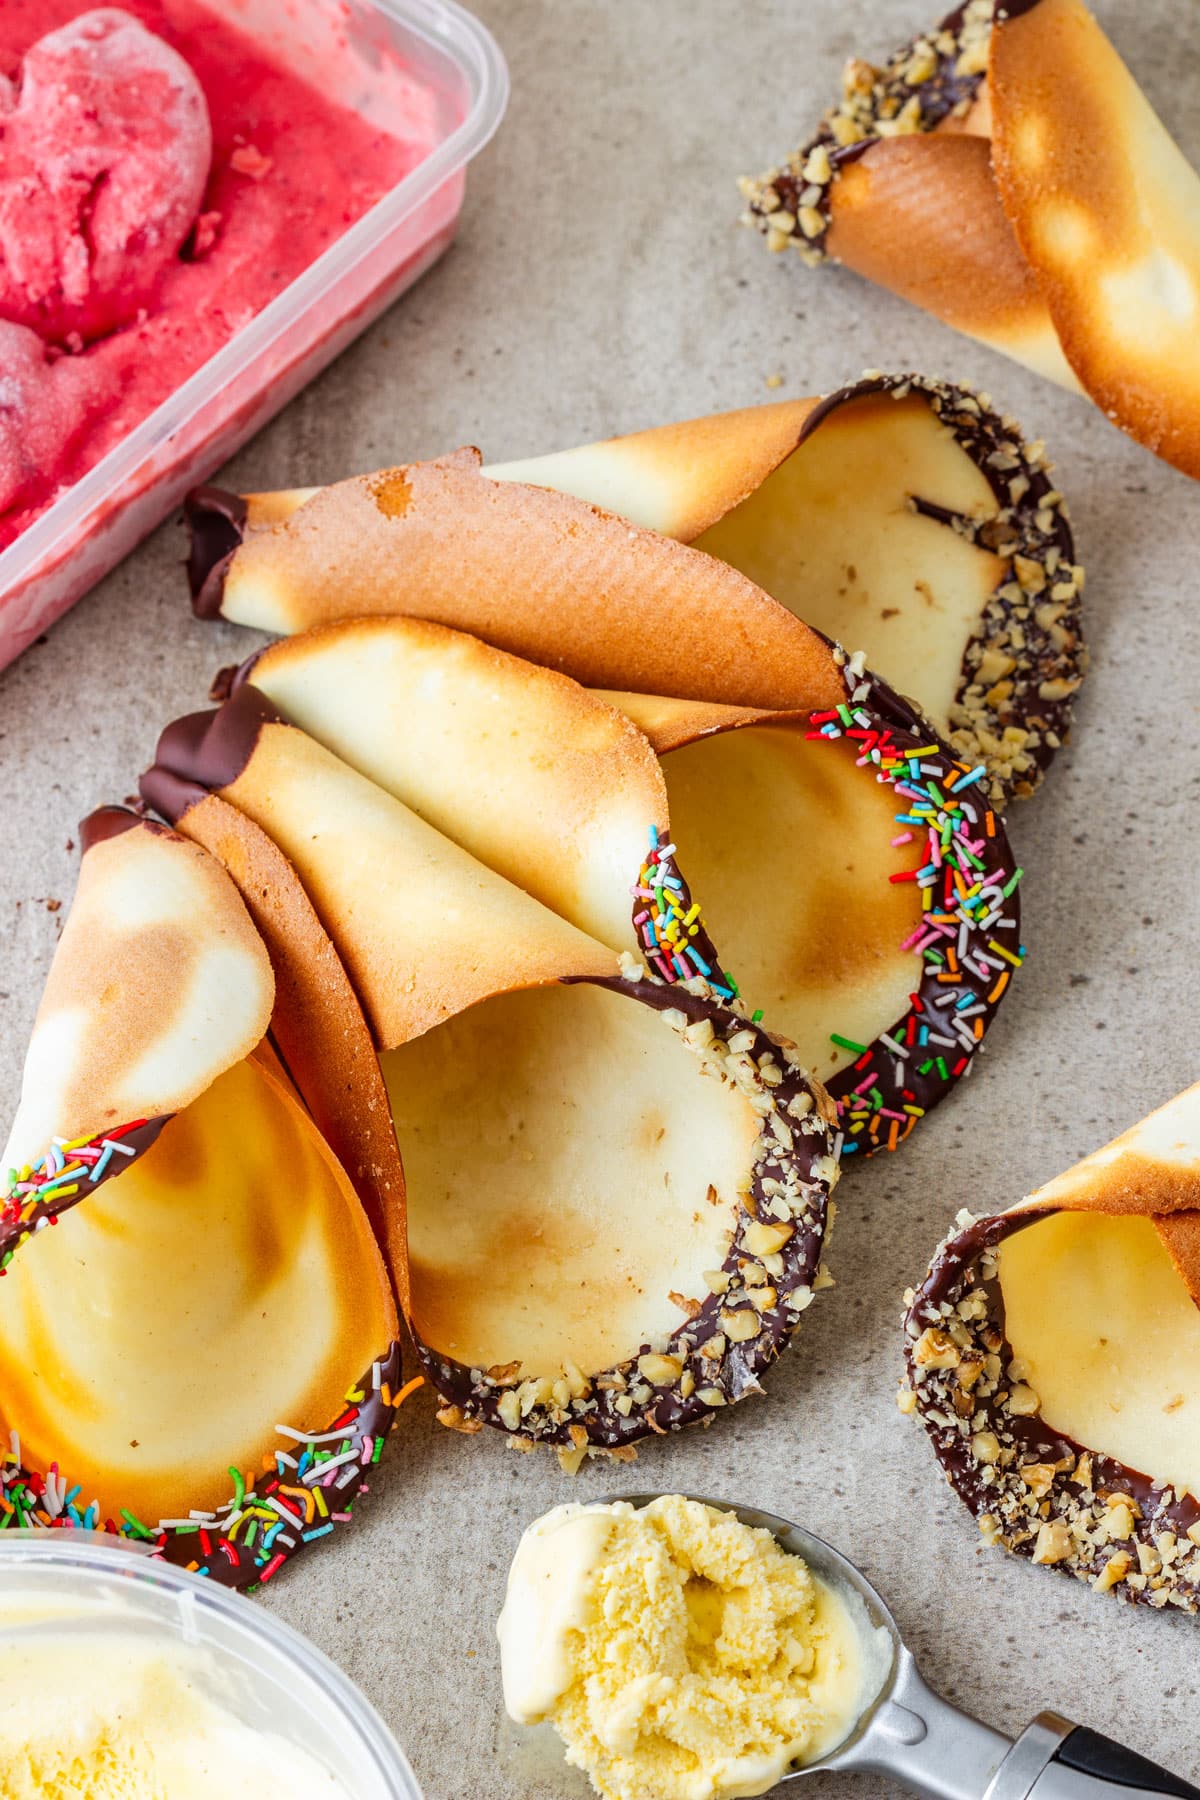
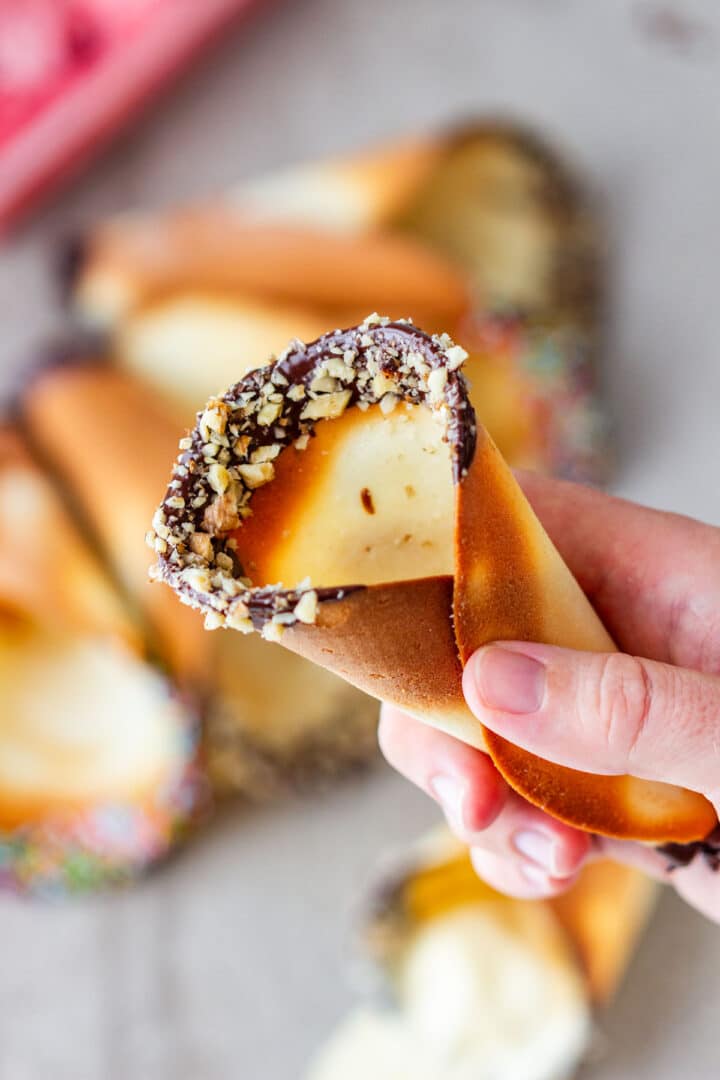
Guys, if you wanna impress your guests, make homemade ice cream cones! Dip the rims in chocolate, add your favorite toppings and hide a small piece of marshmallow in the tip for a sweet surprise at the bottom.
These will go with any kind of ice cream. My personal favorites are any homemade ice creams, especially homemade strawberry ice cream, blackcurrant ice cream and mint and pistachio ice cream, but you feel free to fill these homemade ice cream cones with any ice cream you like!
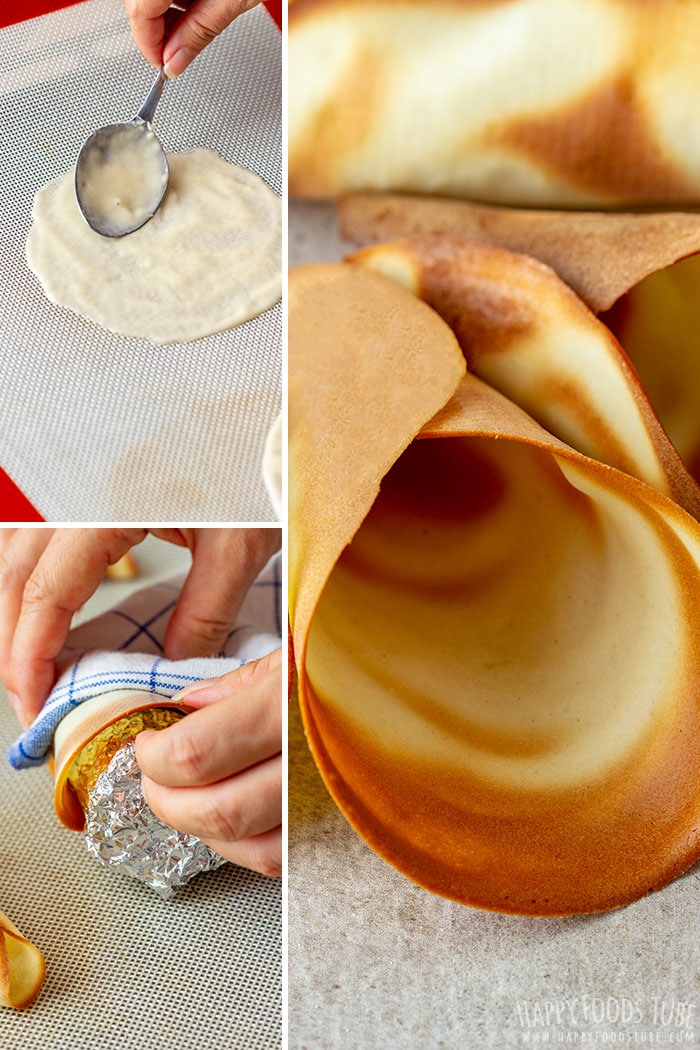
How to make ice cream cones at home
While the process is simple, you will need a bit of practice rolling the cones. They might not come out perfect every time you make them, but don’t be put off by this.
Here is what I learned when making ice cream cones from scratch:
- Don’t attempt to bake more than 2 cones at a time.
- Work fast. The slower you try to shape them into cones, the higher the chance they will get hard. This means you won’t be able to create a proper cone shape. There is one trick: place the baked dough back in the oven for a few seconds so it goes softer. Then you will be able to shape again.
- Because you need to shape the cones right after you take them out from the oven, be ready for pretty hot surfaces and the cooked dough. I use a clean kitchen towel to reduce the heat, but if you have oven gloves, the proper ones, not the oven mitts, I highly recommend using them as well.
- Homemade ice cream cones might not all look perfect but they all taste delicious!
- The thicker the batter layer the longer time they need in the oven.
To sum this up – making ice cream batter is quick and easy, spreading the batter onto a baking sheet is easy, shaping the cooked batter into a proper cone takes a few trials and errors but it’s nothing you can’t manage.
Making the cone molds
These can be store-bought or homemade. To make them at home, simply take a sheet of aluminum foil and make a cone out of it.
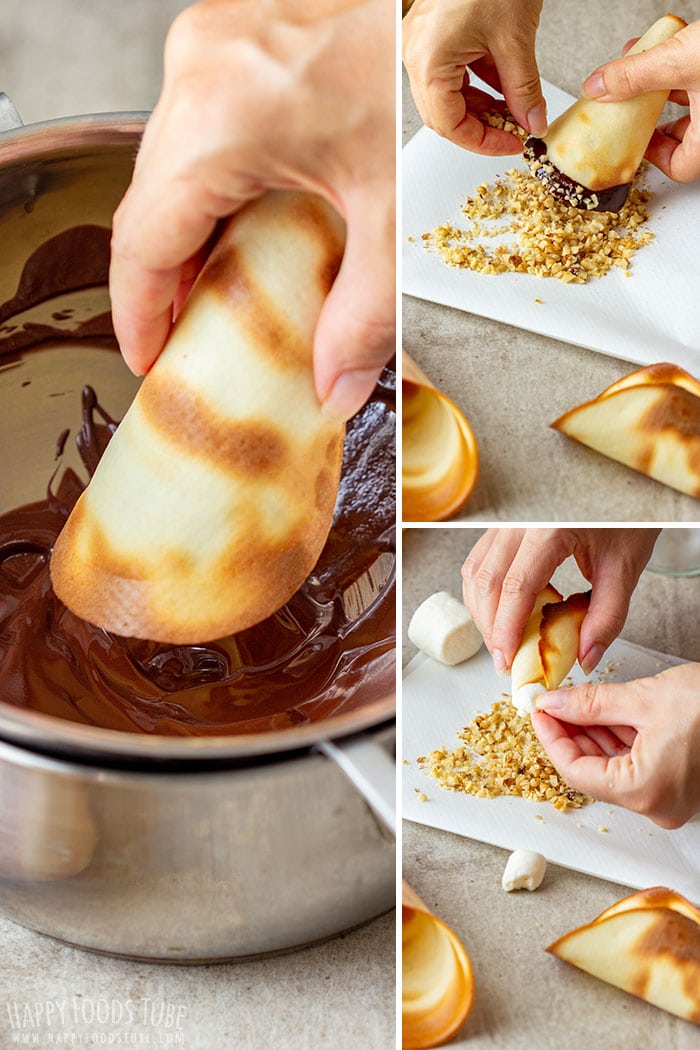
How to decorate homemade ice cream cones
The options are endless and it really depends on what you prefer. Have a look at these simple ideas:
- Finely or roughly chopped nuts, such as hazelnuts, walnuts or peanuts
- Shredded coconut
- Sprinkles. Did you know that you can make them yourself? This how to make sprinkles tutorial shows you how easy it is.
- Colored sugar
- Crushed pretzels
No matter what toppings/add-ons you choose, you will need to coat the wide rim of each ice cream cone in melted chocolate first. To decorate 8–10 cones, I used 2 ounces (60 grams) of dark chocolate.
Sealing the tip, or bottom, of each cone
Once the chocolate around the rims has set, get some marshmallows and tear them into small pieces. Drop one piece into each cone and push it down with the other end of a spoon/fork if needed.
Dip the outside tip in melted chocolate, making sure the small hole is completely covered. The marshmallow gives you a sweet surprise at the bottom and the chocolate helps stop melting ice cream from leaking through.

Tips for making homemade ice cream cones
Now beware that in the heat of summer the chocolate will melt rapidly and things will get pretty messy. To reduce this, you can just dip the tip in melted chocolate or use only a piece of marshmallow to “seal” the tip and prevent the ice cream from leaking through.
This recipe is not suitable for the stovetop. Gemma at Bigger Bolder Baking has a stovetop ice cream cone recipe, so if that’s what you are after, you might wanna check it out.

Homemade Ice Cream Cones
Ingredients
Plain ice cream cones
- 2 egg whites from medium eggs
- ½ cup granulated sugar
- salt a pinch
- 3 tablespoons milk
- 2 tablespoons unsalted butter melted
- ¾ cup all-purpose flour
Chocolate-dipped ice cream cones, optional
- 2 ounces dark chocolate melted
- 2-3 large marshmallows see note 8 below
- optional extras see note 9 below
Instructions
Plain ice cream cones
- Preheat the oven to 400°F (200°C). Place a silicone baking mat on a baking sheet. Have the cone molds, thin spatula and a clean kitchen towel or fingered oven gloves ready before the first batch comes out of the oven.
- Place the egg whites and sugar in a mixing bowl and beat with a whisk until foamy. Add the salt, milk and melted butter. Give it a stir before adding the flour. Whisk until well combined.
- Pour about 1½ tablespoons of batter onto the silicone mat, making sure you have enough space for 2 rounds. Spread both thinly and evenly into circles about 6 inches (15 cm) in diameter.
- Bake for 6–8 minutes or until the edges are golden brown.
- When ready, take the tray out, leaving the oven on. Slide a thin spatula underneath one of the discs just to loosen it.
- Place a cone mold on top of the disc and roll the edge around it. Use a kitchen towel or fingered oven gloves to avoid burning your fingers. Roll it into a cone shape, then place it on a wire rack with the mold still inside and leave it to cool completely.
- Shape the second disc straight away. If it has already become too hard, return it to the oven for a few seconds so it softens, then try again.
- Repeat until you have used all the batter.
Chocolate-dipped ice cream cones, optional
- Melt the dark chocolate. Dip the wide rim of each cone into the chocolate, add chopped nuts, sprinkles or another topping and refrigerate until set.
- Tear the marshmallows into small pieces. Drop one piece inside each cone and push it as close to the hole as possible with the other end of a spoon or fork if needed.
- Dip the outside tip of each cone into the remaining melted chocolate, making sure the hole is completely covered. If the chocolate has started to set, warm it gently before dipping.
- Refrigerate until the chocolate is set and the cones are ready to serve.
Notes
- To make these cones, you will need a silicone baking mat. Baking parchment turns soft and creases the minute you try to spread the batter around.
- The batter should not be too runny. If it is, add more flour.
- Store plain cones in an airtight container and chocolate-coated ones in the fridge. They should last up to 3–4 days.
- The baking time may vary. This depends on your oven as well as the thickness of each disc.
- The number of cones you will get from this recipe will depend on how thick and large they are. I got 8 cones. Each disc was about 6 inches (15 cm) in diameter.
- All-purpose flour in the US is called plain flour in the UK.
- You only need 2 cone molds to make these. Simply reuse them for the following batches.
- I used 2 large marshmallows that I tore into small pieces that fit the hole in the bottom of each cone.
- Optional extras include sprinkles, chopped nuts of your choice, colored sugar, shredded coconut and crushed pretzels.Plain cones take about 40 minutes. Chocolate-dipped cones need additional time for the chocolate to set.
Nutrition
Nutrition information is an estimate provided by an online nutrition calculator and may vary based on ingredient brands, substitutions, and portion sizes.




These homemade cones are simply perfect! I love how easy it is to make the batter!
Thanks, Natalie!
I have always wanted to make my own ice cream cones your recipe seems fairly easy for me to adventure on trying to make them. Nothing like homemade.
Let me know how it went if you give it a go so!
How fun! These cones look so easy that I bet it would be fun to make with my nieces!! I especially love the ones dipped in chocolate!
Those dipped in chocolate are definitely the winners :)
Wow. I never would have thought to make homemade ice cream cones. Love this idea, especially since you can customize them with all your favorite flavors.
You certainly can! :)
WHAT A NEAT AND CLASSY IDEA! MY KIDS AND GUEST LOVED THEM!!
Thanks, Rachel!
I love that you made your own waffle cones and the chocolate and nut rims sound fabulous!!! Pass the ice cream!
Glad to hear you like them, Lisa :)
So delicious! I love a good ice cream cone, perfect treat!
It is, isn’t it? :)